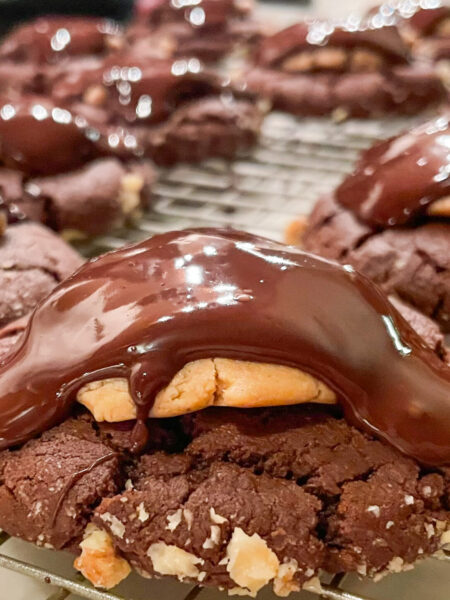
Easy No-Bake Peanut Butter Cups: A Simple, Sweet Indulgence
If you’re craving something sweet and delicious but don’t want to spend hours in the kitchen, these No-Bake Peanut Butter Cups are exactly what you need! With just a few simple ingredients and minimal effort, you can create this indulgent treat that’s perfect for any time of day. Whether you enjoy them as a dessert or an afternoon snack, these homemade peanut butter cups will quickly become a household favorite.
Why No-Bake Peanut Butter Cups?
There’s something magical about the combination of creamy peanut butter and rich chocolate. These cups are a perfect blend of salty and sweet, and the best part? No baking required! These treats are also customizable—add a sprinkle of sea salt, coconut flakes, or even drizzle with caramel for an extra-special touch.
Ingredients
To make these decadent no-bake peanut butter cups, you’ll need:
- 1 1/2 cups peanut butter (creamy or chunky, depending on your preference)
- 1/4 cup maple syrup
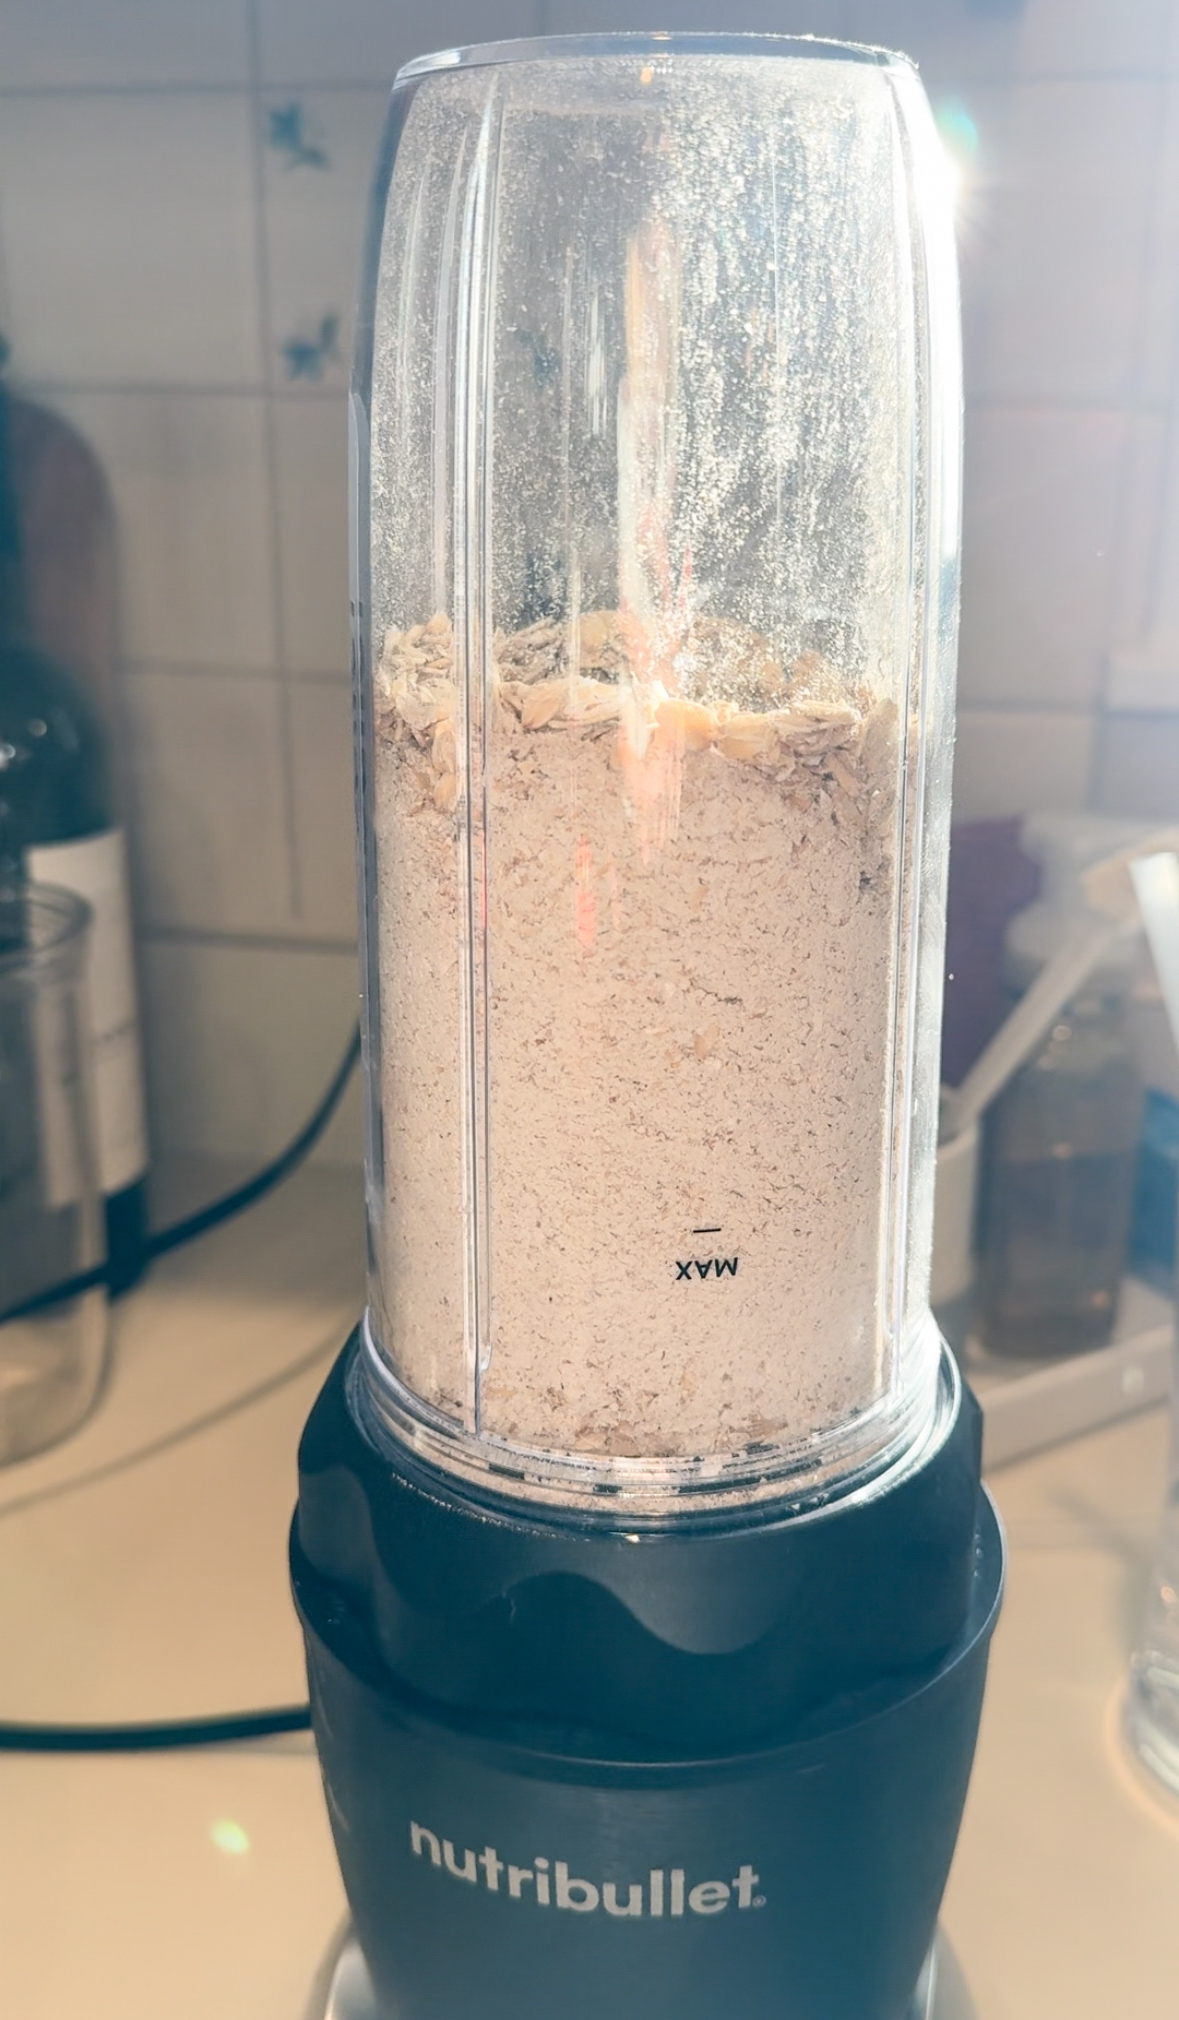
- 1 1/2 cups of old fashioned oats (blended)
- 1 cup dark chocolate
- Flaky sea salt (optional, for topping)
Instructions
Step 1: Prepare the Peanut Butter Base
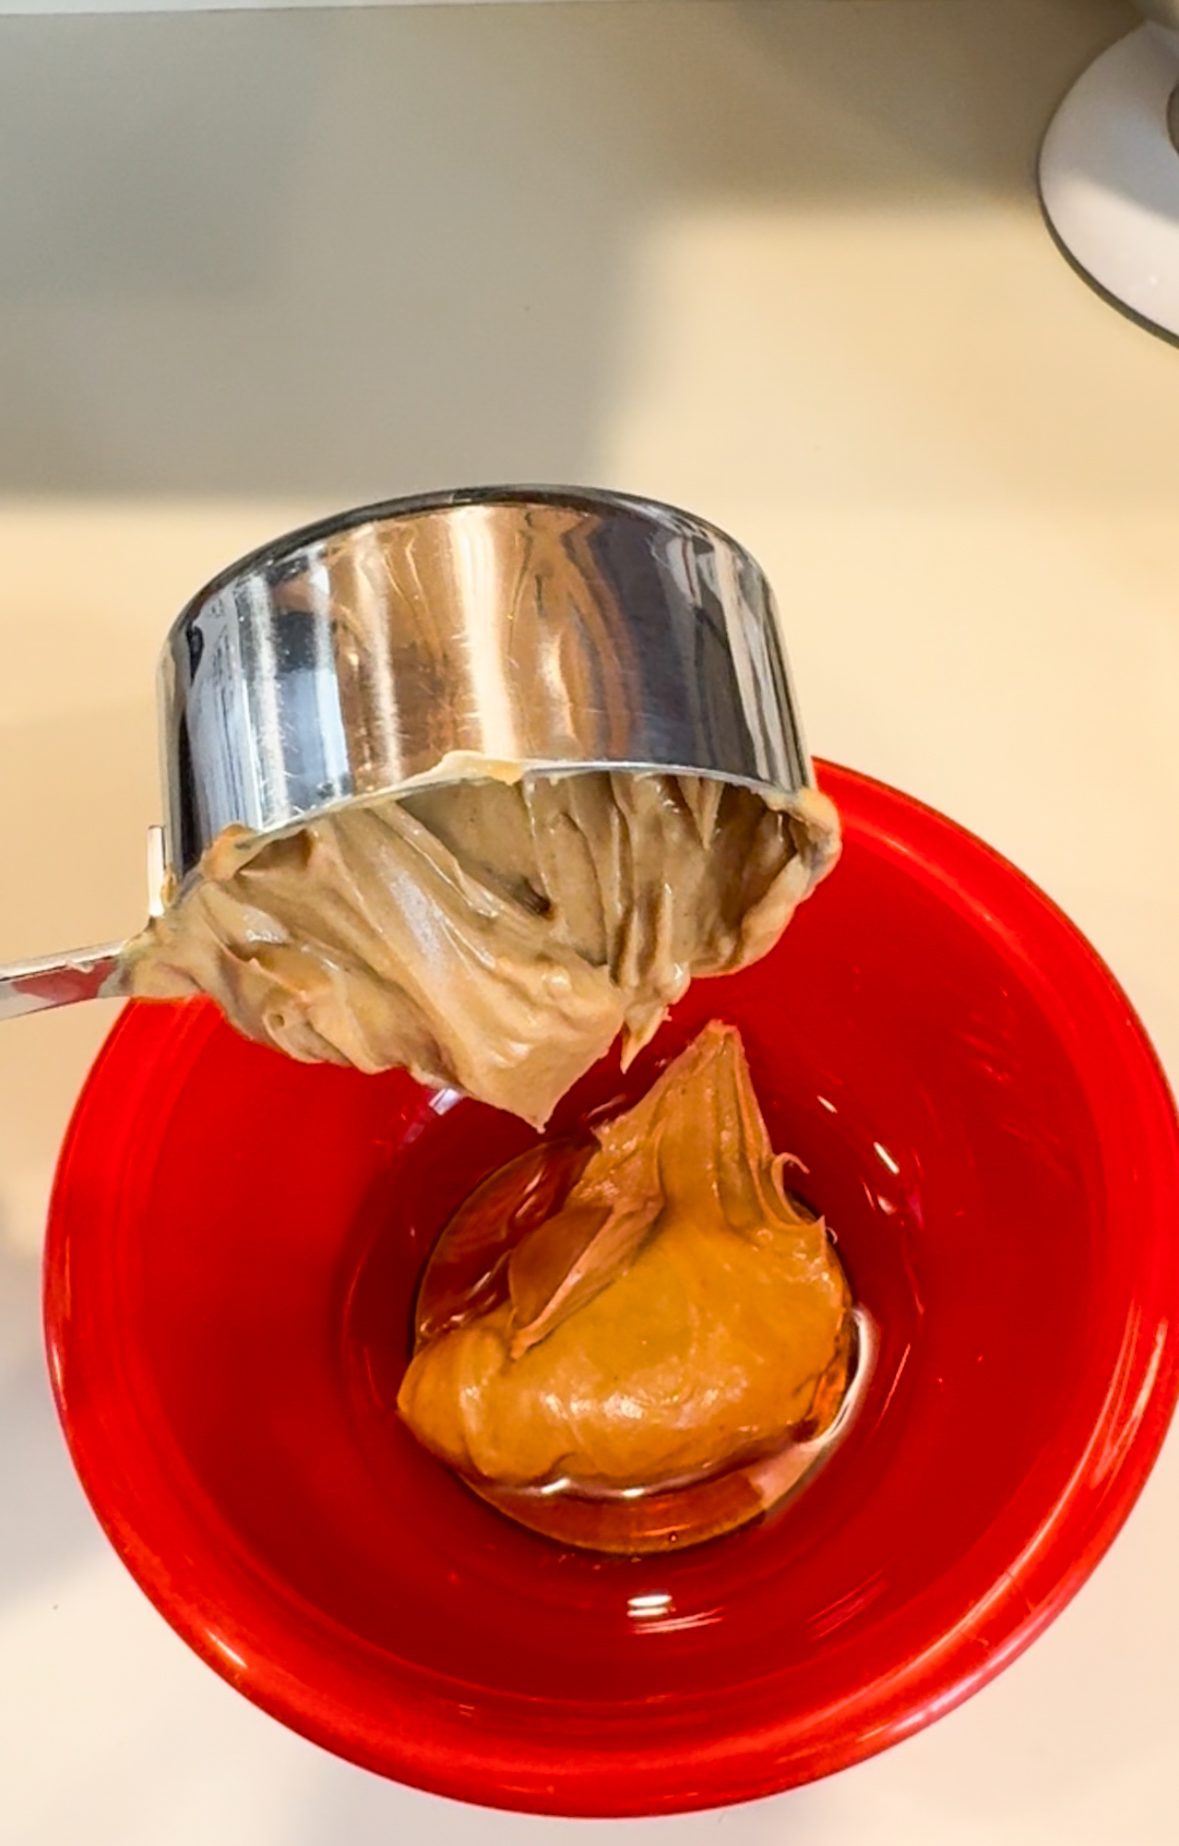
In a medium-sized bowl, combine the peanut butter with maple syrup. Microwave for 45-60 seconds then stir until the mixture is smooth and well-combined.
Step 2: Create the Peanut Butter Layer
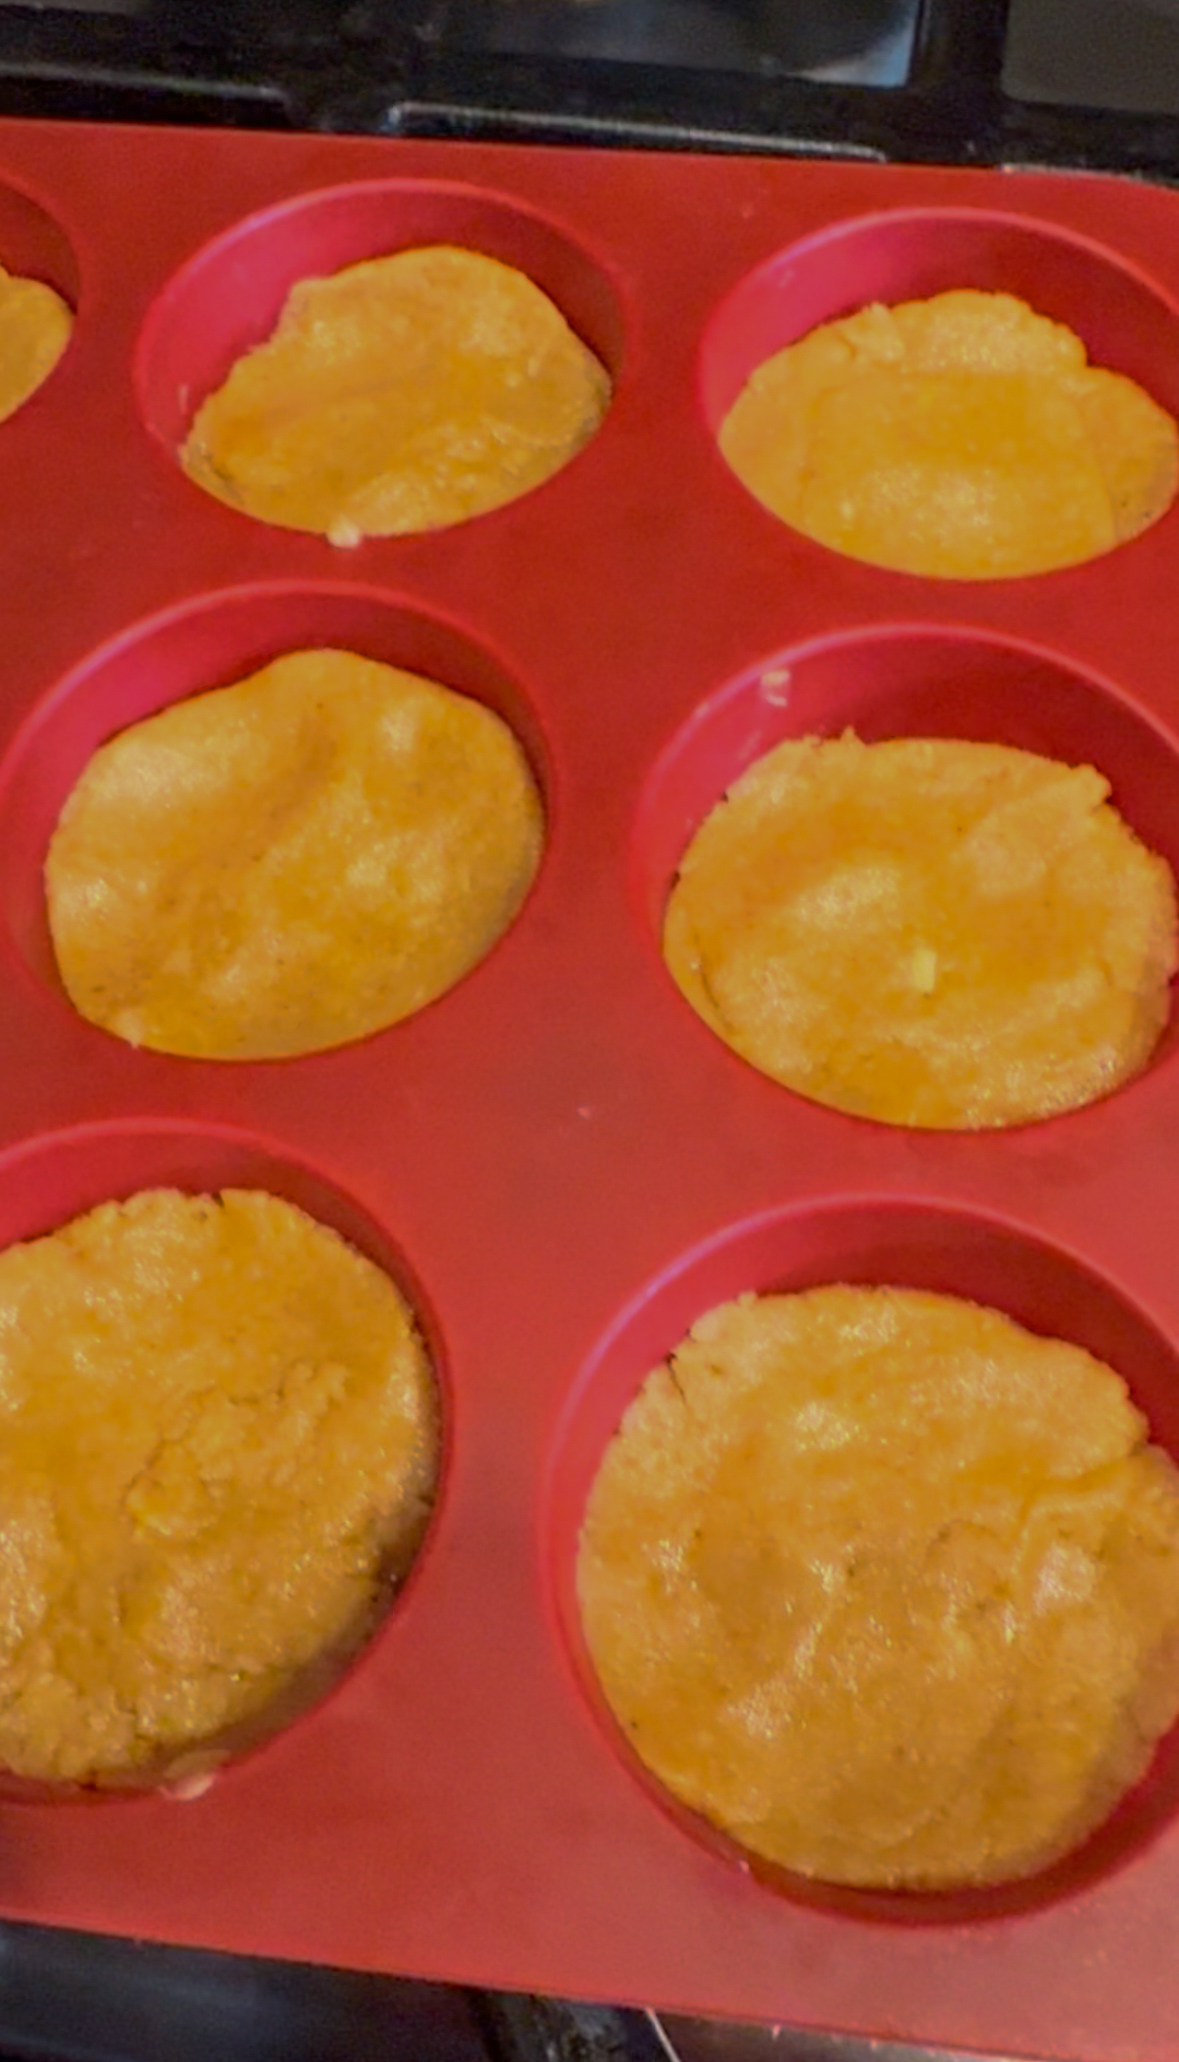
Line a muffin tin with cupcake liners (or use silicone molds for easy removal) and spoon the peanut butter mixture into each mold, filling them about halfway. Place the tin in the freezer for about 15-20 minutes to firm up the peanut butter layer.
Step 3: Melt the Chocolate
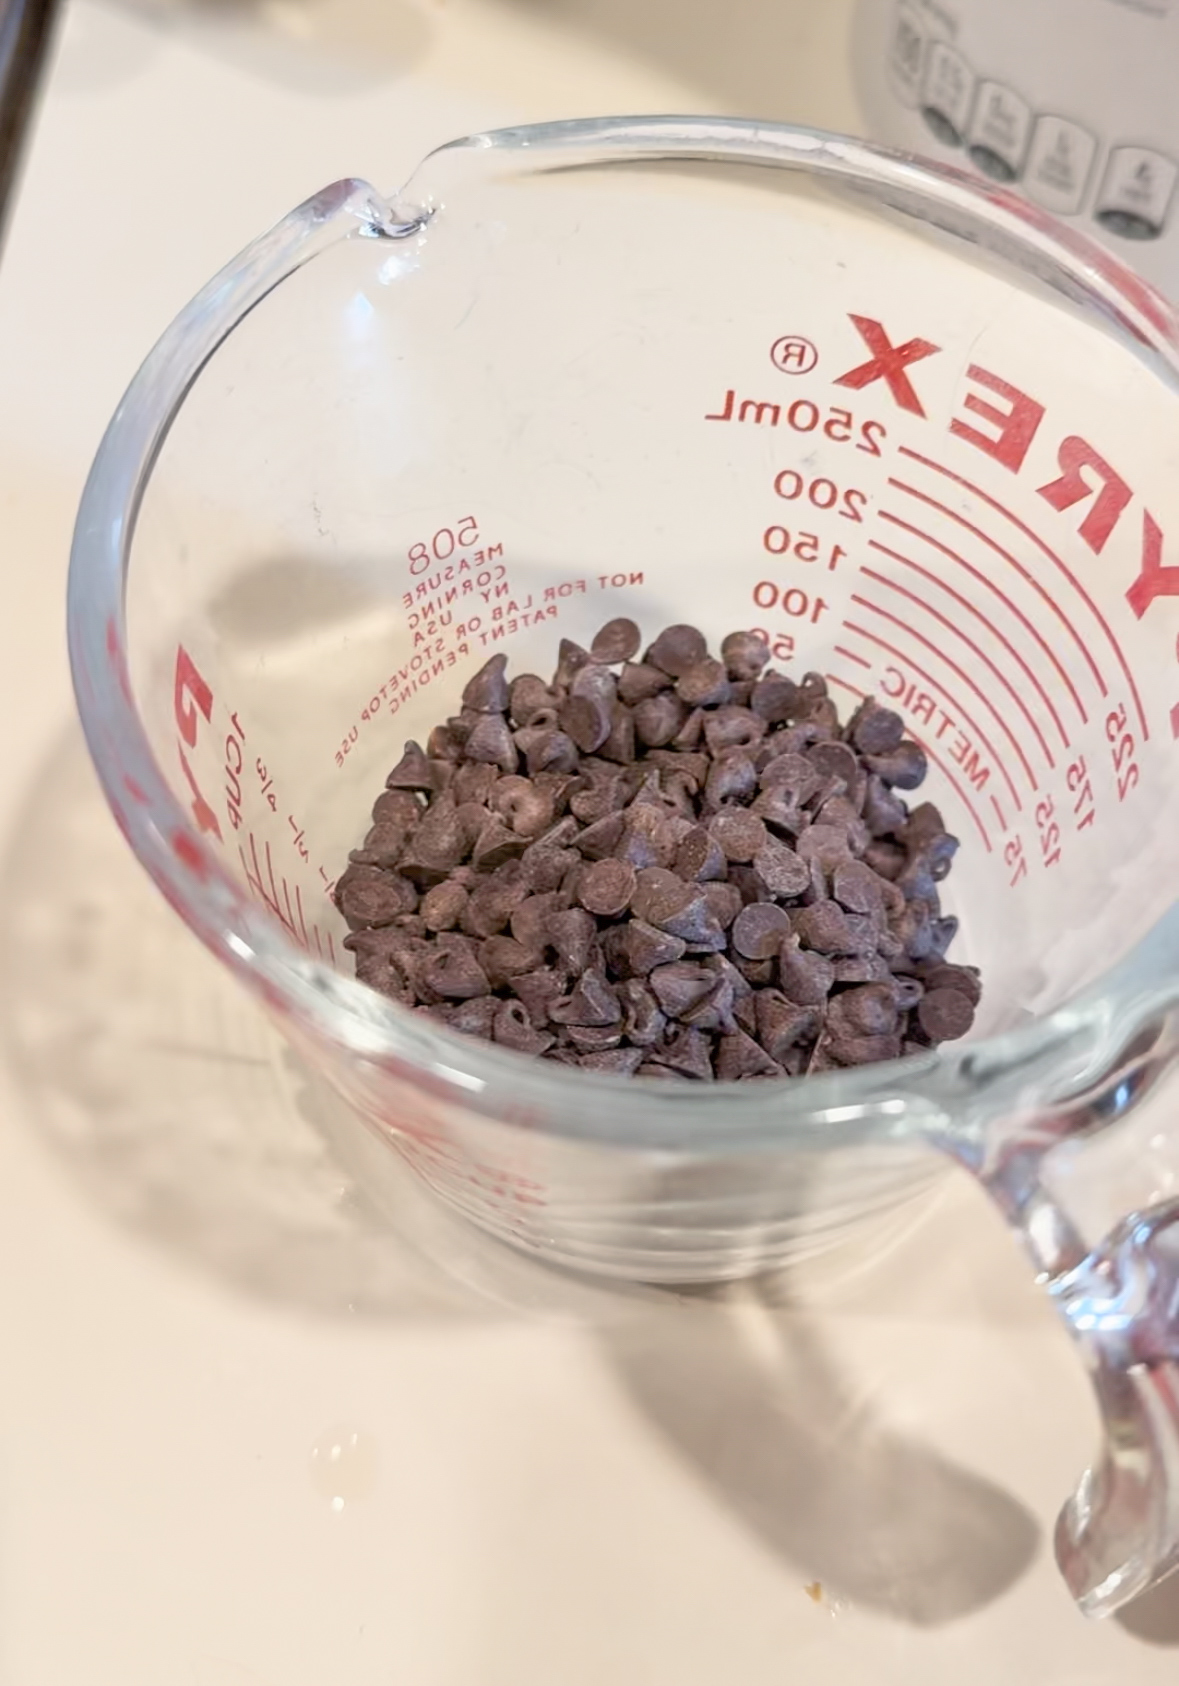
While the peanut butter layer is setting, melt the chocolate chips in a microwave-safe bowl. Heat in 30-second intervals, stirring in between, until the chocolate is fully melted and smooth.
Step 4: Add the Chocolate Layer
Once the peanut butter layer has firmed up, pour the melted chocolate over the top of each peanut butter cup, covering it completely. You can use a spoon to smooth out the chocolate layer.
Step 5: Garnish and Chill
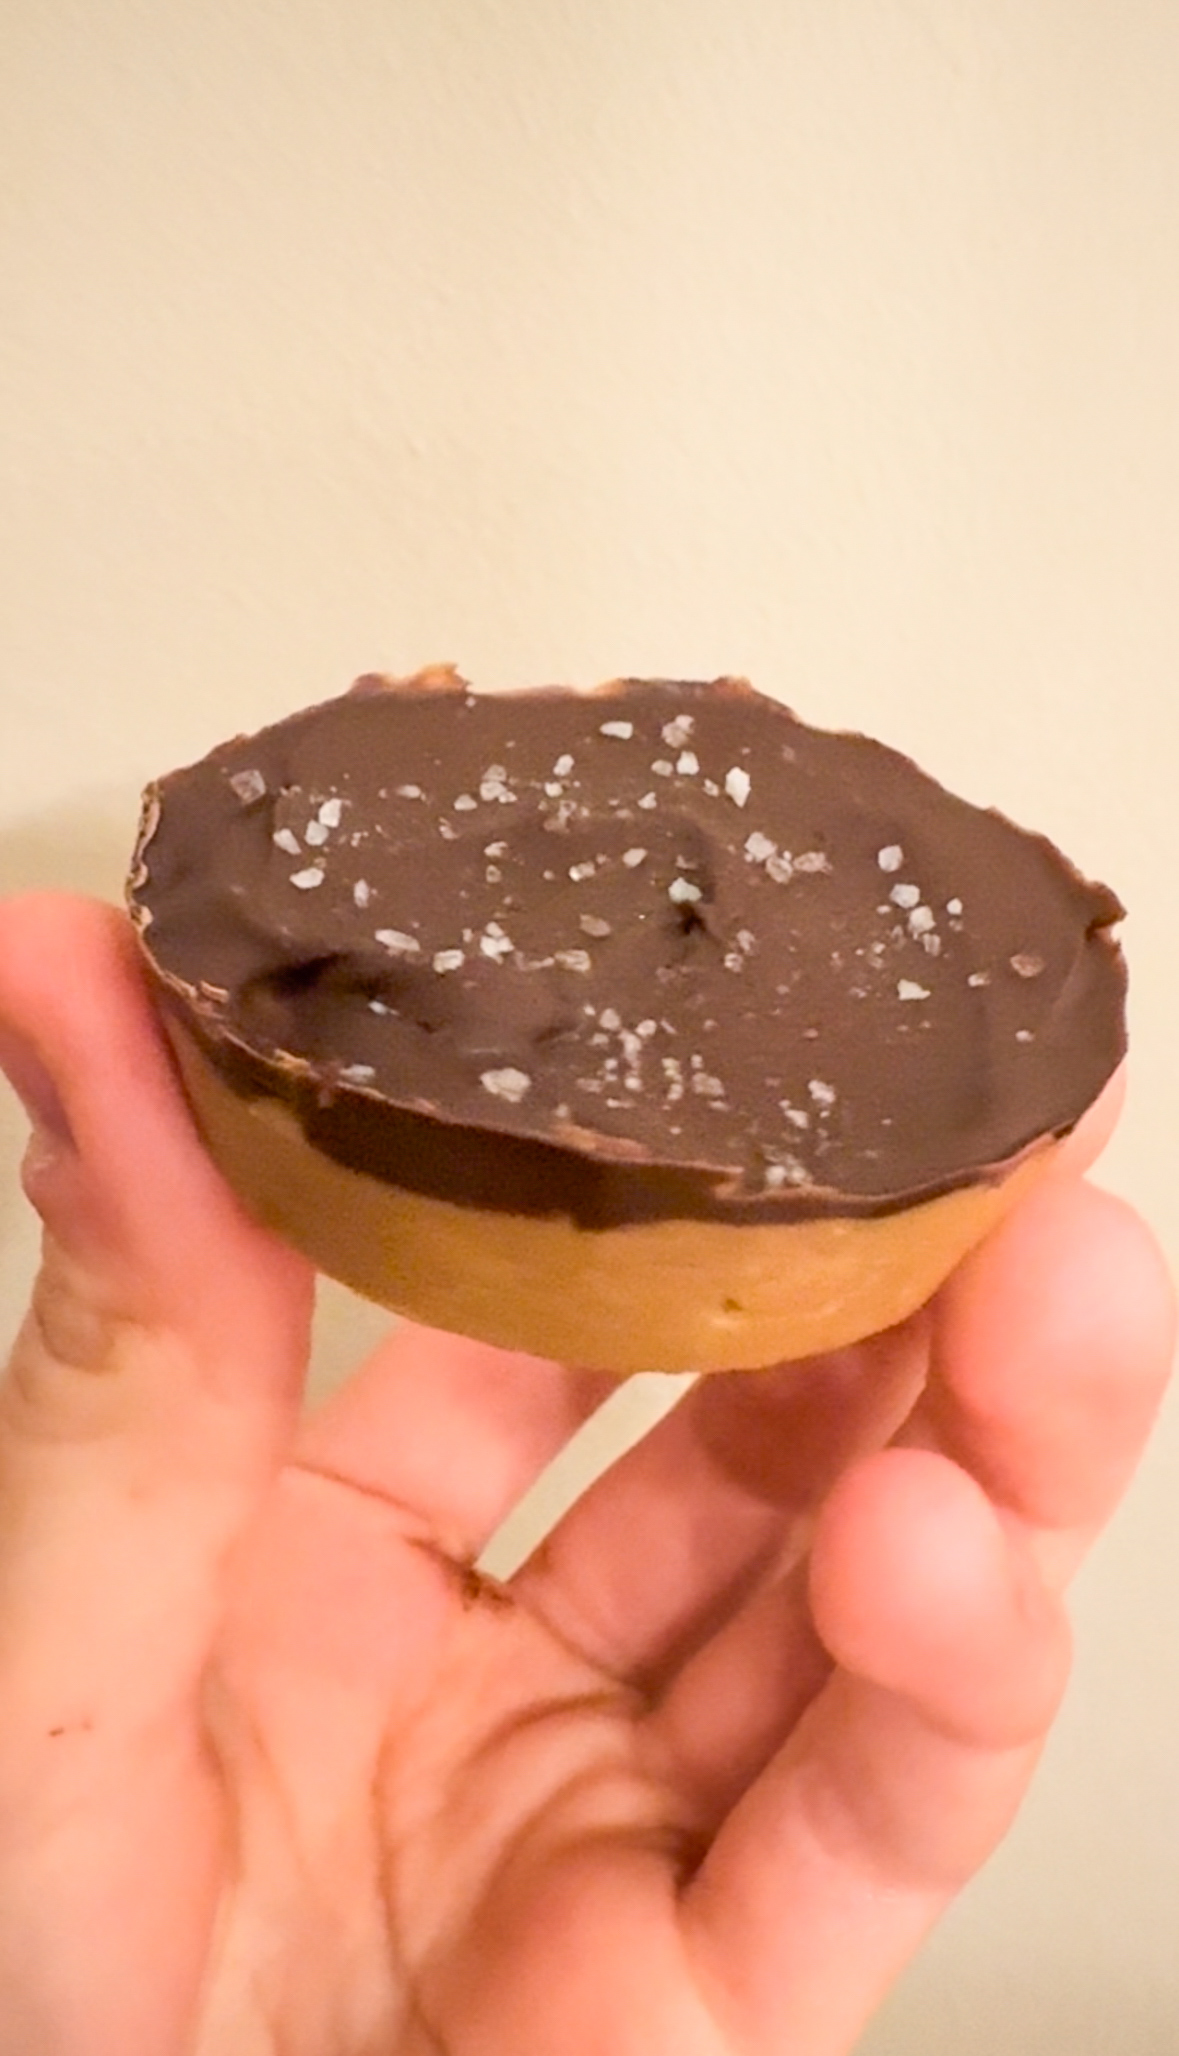
For an extra touch of flavor, sprinkle a pinch of flaky sea salt over the top of each peanut butter cup while the chocolate is still warm. Return the tin to the freezer for another 20-30 minutes until the cups are fully set.
Step 6: Serve and Enjoy
Once they’ve set, remove the peanut butter cups from the liners and enjoy! Store them in an airtight container in the refrigerator or freezer to keep them fresh and ready for a quick snack.
Tips and Variations
- Nut-free option: If you have a peanut allergy, swap the peanut butter for almond butter, cashew butter, or sunflower seed butter!
- Sweetener swap: Maple syrup or agave syrup can be used in place of honey to make this recipe vegan-friendly.
- Add some crunch: For added texture, mix in crushed pretzels, chopped nuts, or coconut flakes into the peanut butter layer before freezing.
- Customize your chocolate: While semi-sweet or dark chocolate works beautifully, you can also experiment with white chocolate or a mix of chocolate layers for an even more visually appealing treat.
Why You’ll Love These No-Bake Peanut Butter Cups
This recipe is a win for so many reasons. It’s incredibly quick, uses minimal ingredients, and requires no baking—perfect for when you don’t want to turn on the oven. These peanut butter cups are also a healthier alternative to store-bought versions, allowing you to control the ingredients and reduce the amount of added sugars or preservatives.
Final Thoughts
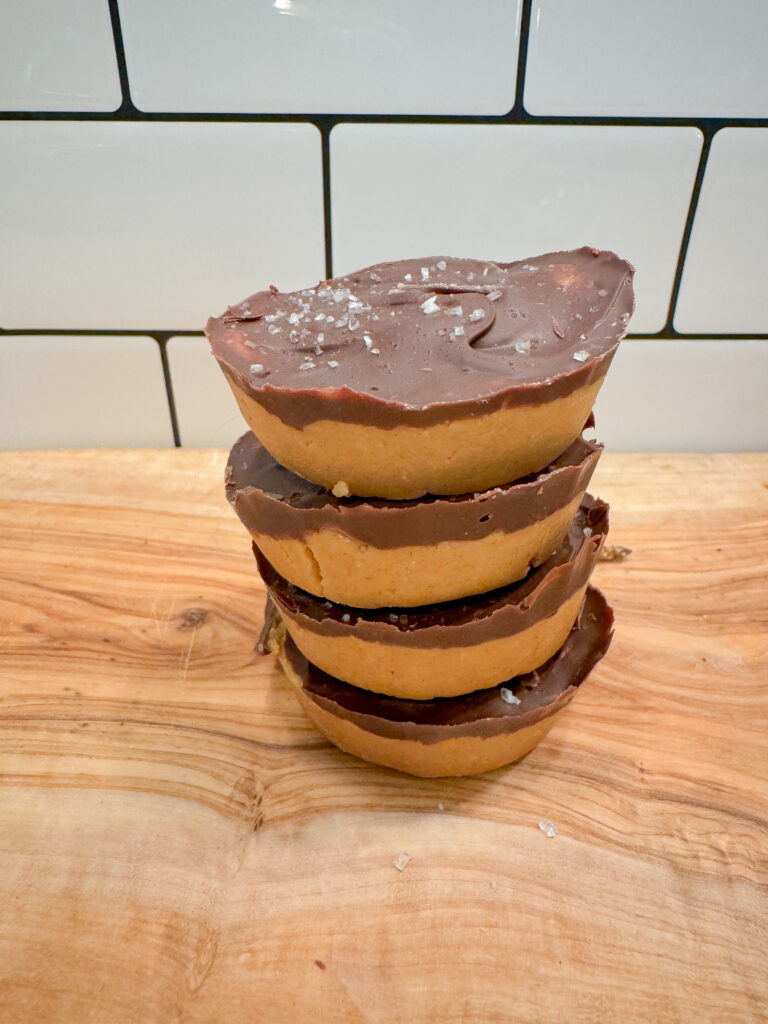
Whether you’re making these No-Bake Peanut Butter Cups for a gathering or just to keep on hand for when the sweet tooth strikes, they are guaranteed to impress. With their rich peanut butter base and smooth chocolate top, each bite offers a melt-in-your-mouth experience that’s hard to resist.
The next time you’re looking for a quick, satisfying treat, whip up a batch of these no-bake peanut butter cups. Trust me, they’re a game changer!
Happy snacking!
No Bake Peanut Butter Cups
Description
These delicious creamy peanut butter cups are perfect for satisfying any sweet tooth craving. Topped with a light sprinkle of flaky sea salt these gluten free, dairy free, PCOS friendly desserts are sure to be a favorite!
Ingredients
Instructions
-
Combine maple syrup and peanut butter in a medium size bowl. Microwave for 45-60 seconds or until the peanut butter has softened more mixing.
-
Blend oats in a medium to large blender until they have turned into a flour like consistency
-
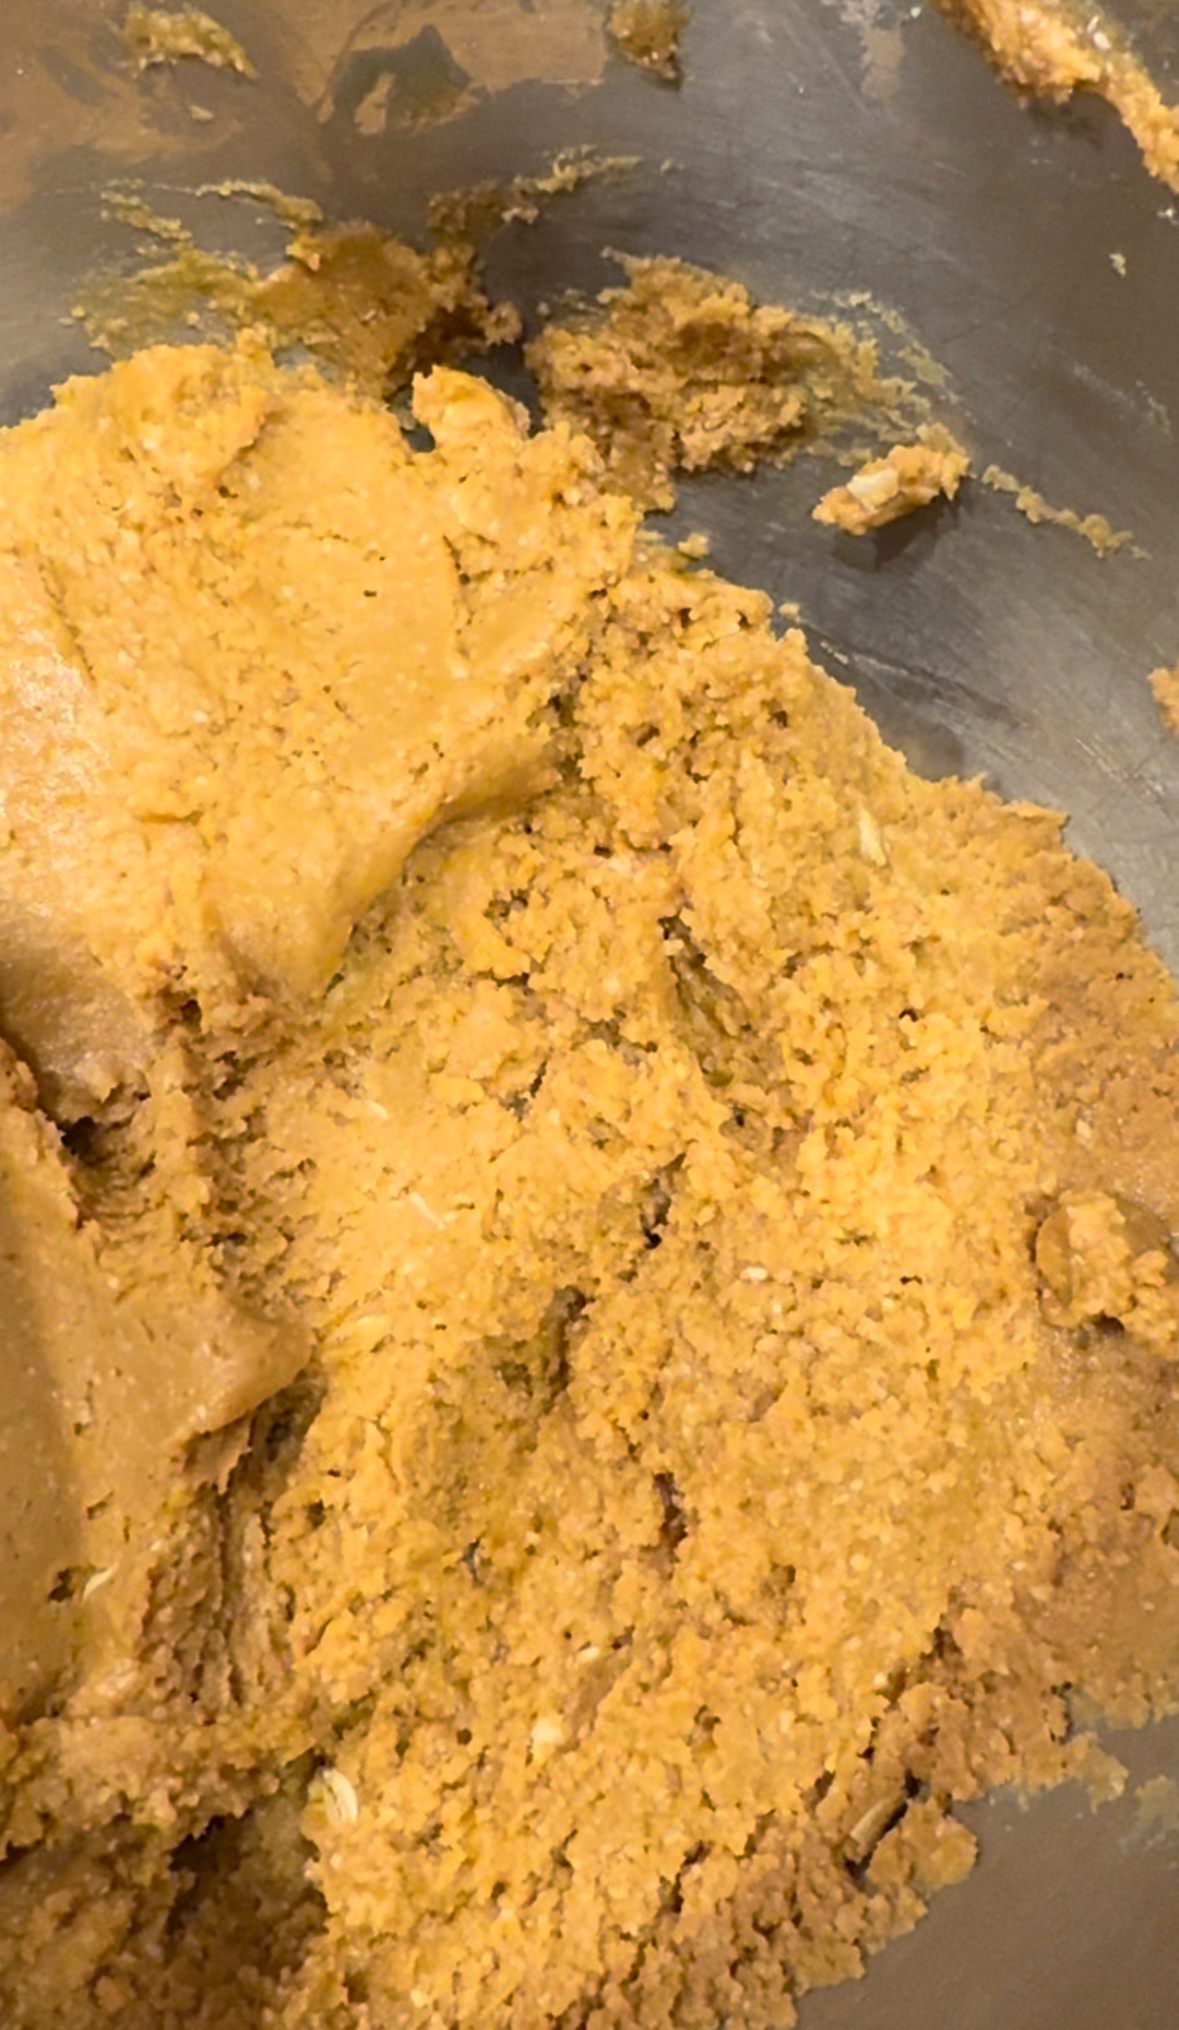
Combine blended oats with peanut butter/maple syrup mix
-
Place the peanut butter mixture into a silicon cupcake pan (cupcake liners will work as well)
-
Melt your chocolate in the microwave for 1 minute or until completely melted. Make sure to check on it in 15 second integers to avoid burning.
-
Pour the chocolate evenly into each up. Optional: Top with coarse sea salt
-
Place peanut butter cups in the fridge/freezer for 60 minutes or more until the chocolate has hardened
-
Keep refrigerated to avoid spoilage

